RepairEd WordPress Theme Documentation by NetGon v1.0
RepairEd WordPress Theme
Created: 02/05/2017
By: NetGon
Email: netgon@netgon.ru
Thank you for using RepairEd theme. If you have any questions that are beyond the scope of this documentation, please feel free to email us. Thanks!
Table of Contents
- Install Theme
- Import Demo
- Manual settings
- Sources and Credits
Install Theme | Top ↑
System requirments:
- php 5.6 and higher
- php_gd2 extension for php - Installation manual
To install this theme you must have a working version of WordPress already installed. Make sure you have clean WordPress setup. This installation guide will help you to install the WordPress.
The theme files can be uploaded in two ways: Through FTP or through WordPress dashboard.
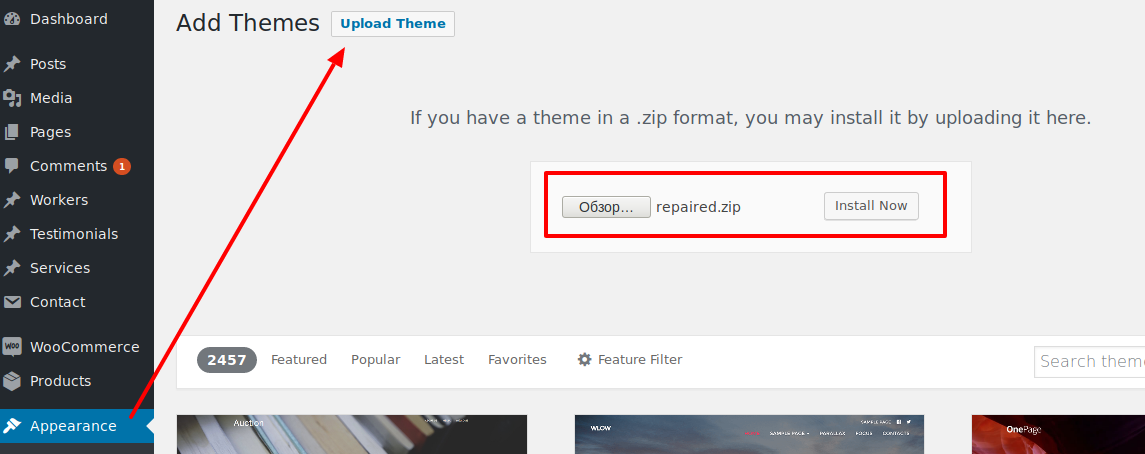
- Using your FTP program: upload the non-zipped theme folder into the /wp-content/themes/ folder on your server.
-
Upload Through WordPress: navigate to Appearance → Add Themes → Add New → Upload Theme → Install now.
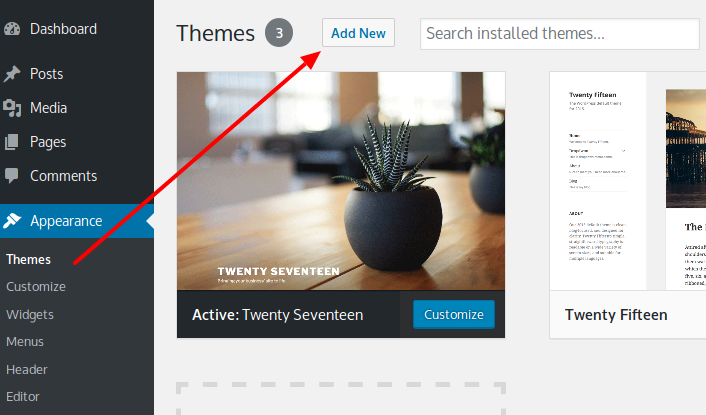
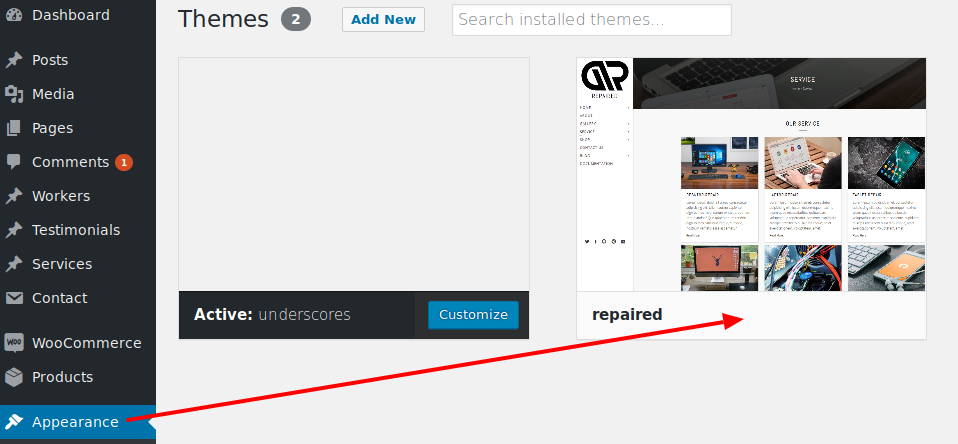
 Once the theme is uploaded, you need to press Activate. Or navigate to Appearance → Themes and press Activate.

Import Demo | Top ↑
Look into the theme directory and find the demo subdirectory. You'll find all import data files here.
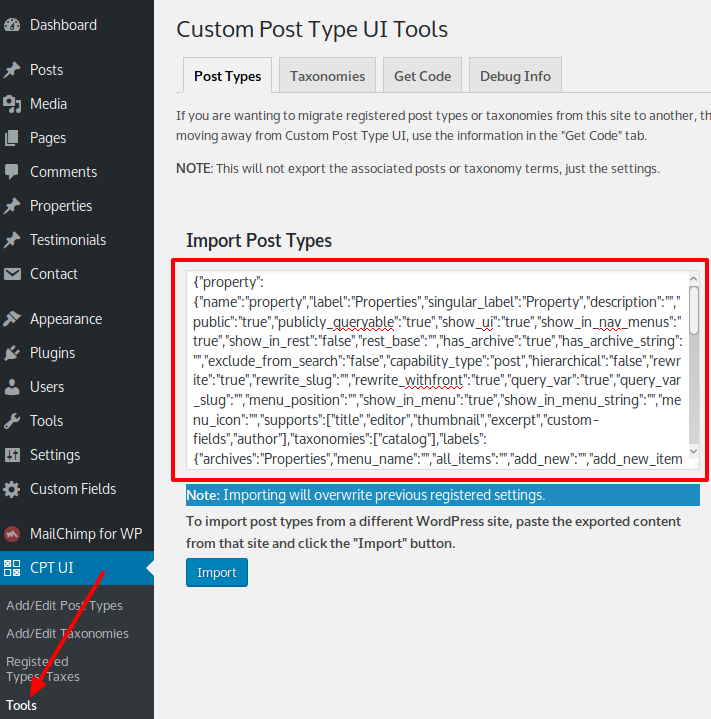
Import Post Types | Top ↑
Before importing data, install Custom Post Type UI plugin. Then press CPT UI → Tools and paste data from post-types.txt into the Import Post Types textarea. Press Import.
Import Data | Top ↑
To get demo pages with content like on demo website, install Wordpress Importer plugin:
- Visit Tools → Import in the WordPress dashboard → press on Wordpress → Install Now.
- When installed, press Activate Plugin & Run Importer.
- Choose demo/repaired.wordpress.[latest-version-date].xml file in template directory, push "Upload file and import" button.

There will be displayed a message during the import: "Assign authors. If a new user is created by WordPress, a new password will be randomly generated and the new user’s role will be set as subscriber. Manually changing the new user’s details will be necessary." in this case choose: "create new user with login name:" for each author and specify login names for them. Check also Download and import file attachments checkbox: Press Submit.
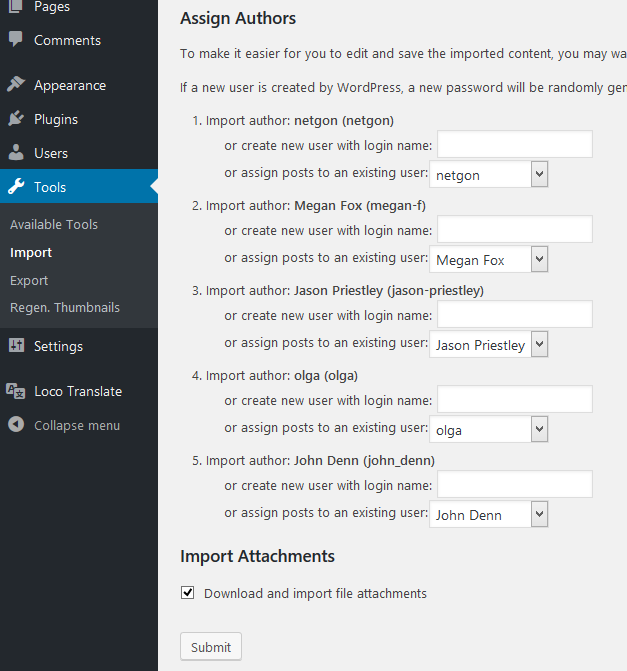
You can also delete just uploaded user with the name NetGon.
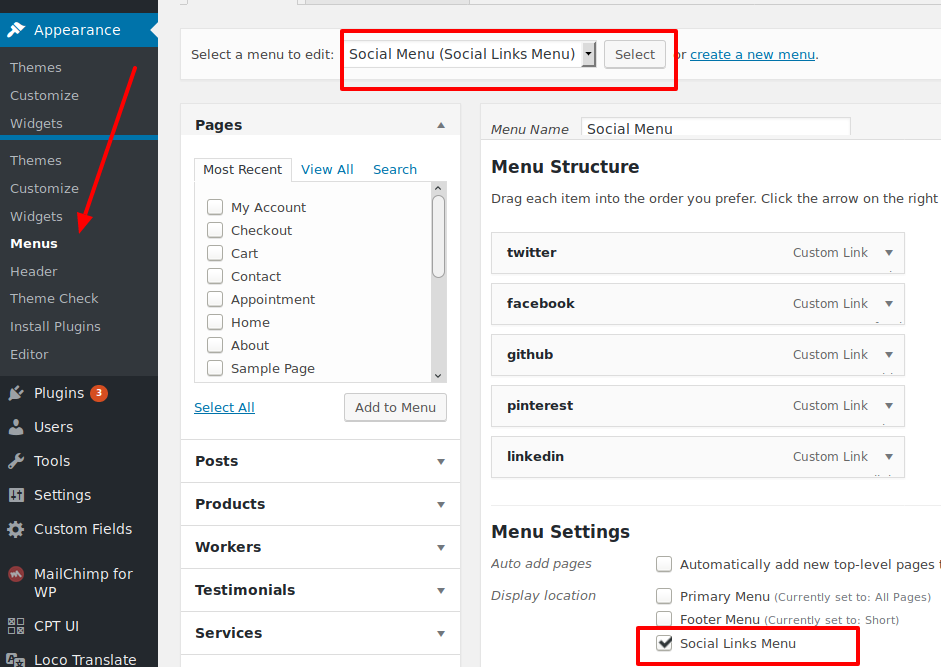
Import Menus | Top ↑
Go to Appearance → Menus and set each menu to it's location:
- Primary Menu — Primary Menu
- Footer Menu — Footer Menu
- Social Menu — Social Links Menu
Manual settings | Top ↑
Pages | Top ↑
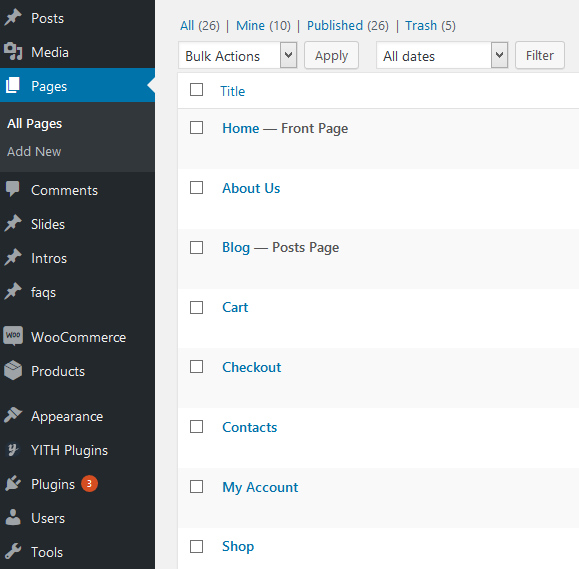
Go to Pages and create pages. Name them as you like.
Settings | Top ↑
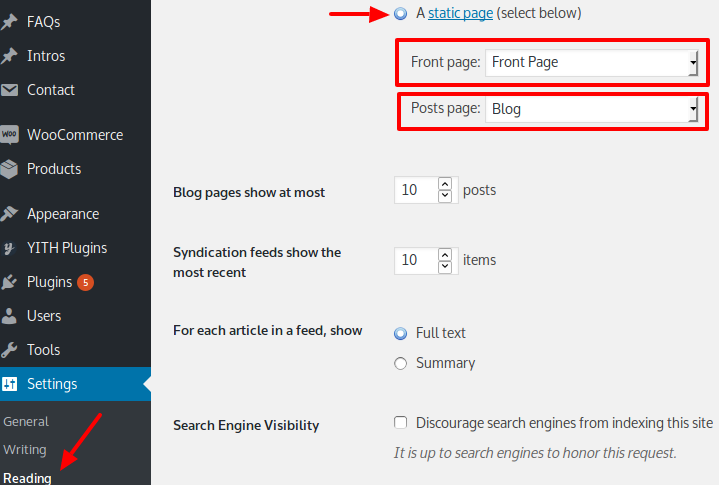
Go to Settings and set Static Front and Posts pages (any pages as you like).
Menus | Top ↑
Go to Appearance and create new menu as Primary Menu (name it as you like). Add some pages (or other elements) and save.
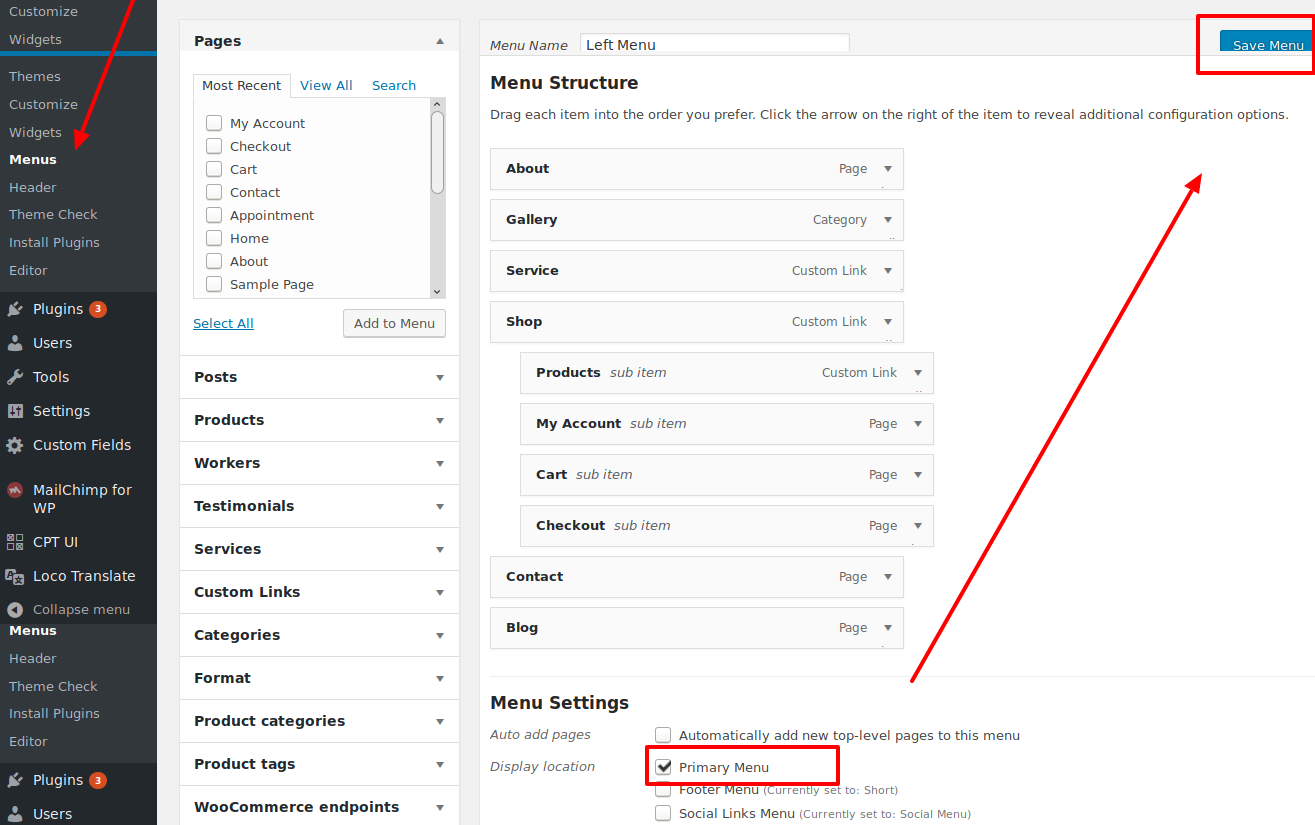
Create Footer and Social Menu the same way.
Plugins | Top ↑
Plugins installation | Top ↑
To take more advantage the theme asks for installing some plugins. nce you will activate the theme, you will see a notice asks you for installing recommended plugins. To proceed click "Begin installing plugins".

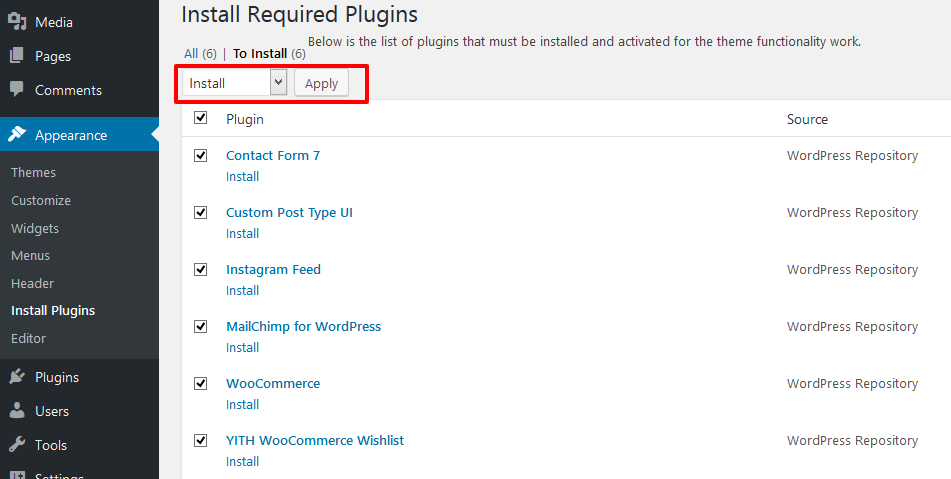
Recommended plugins for RepairEd Theme:
Subscribe form | Top ↑
Go to Plugins - MailChimp for WP — Forms, fill the form fields. Remember that your form must have button tag for input and must be empty.
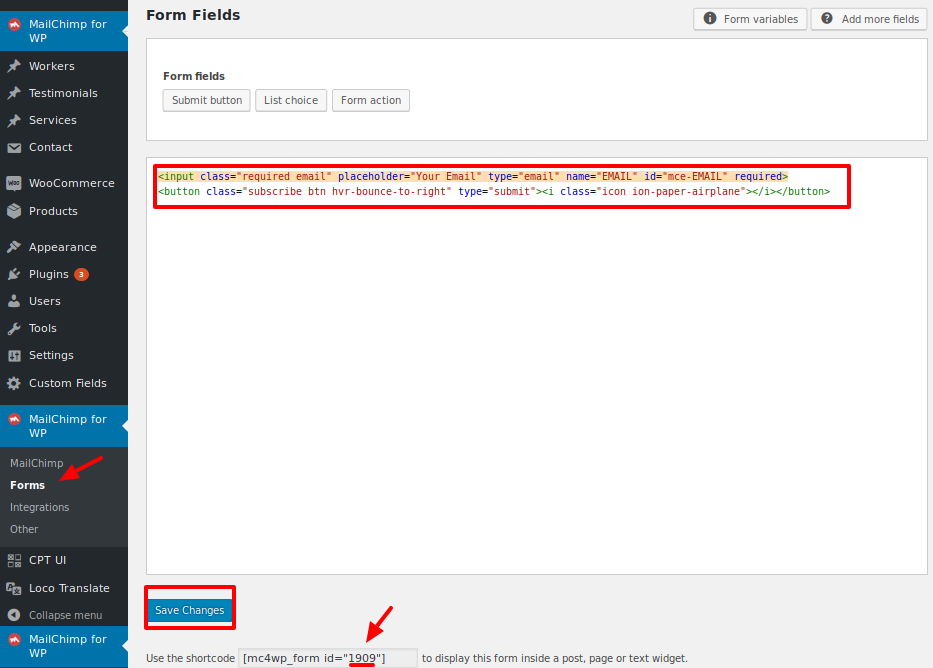
Here is the full form code:
<input class="required email" placeholder="Your Email" type="email" name="EMAIL" id="mce-EMAIL" required> <button class="subscribe btn hvr-bounce-to-right" type="submit"><i class="icon ion-paper-airplane"></i></button>Copy the Shortcode ID and paste it into the special field in custom options.
Custom post types | Top ↑
For this setting you need to have Custom Post Type UI plugin installed.
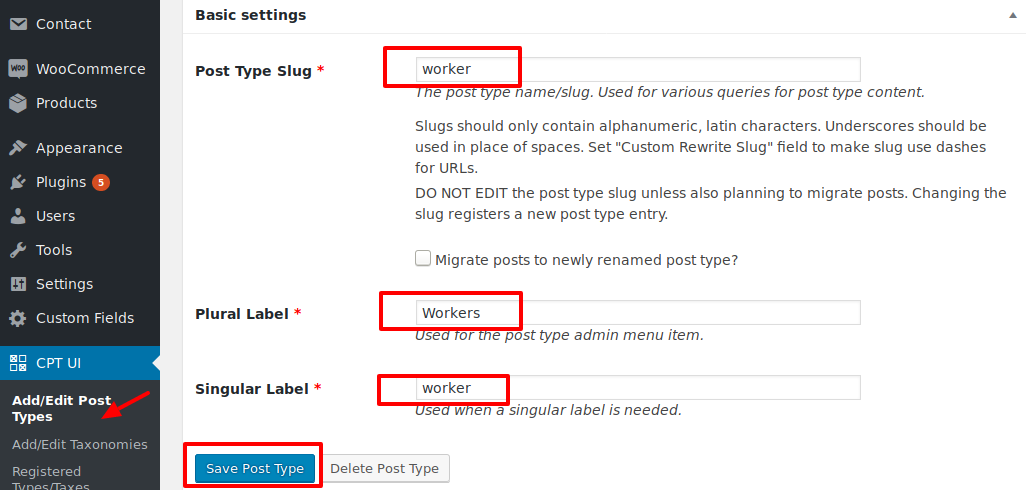
Worker | Top ↑
Press Add/Edit Post Types and fill the required fields (you can choose any names for your custom posts and set them after in Theme Options):
- Post Type Slug: worker (you can name as you like)
- Plural Label: Slides (you can name as you like)
- Singular Label: Slide (you can name as you like)
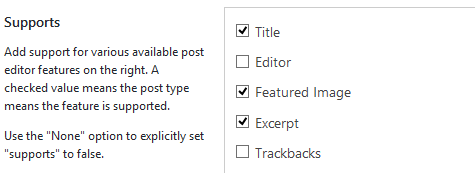
Set the post type supports:
- Title
- Editor
- Featured Image
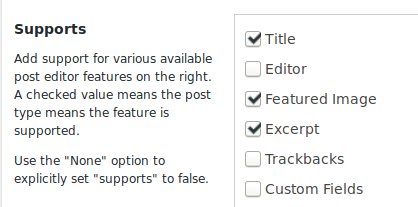
Press Save Post Type.
Intros | Top ↑
Press Add/Edit Post Types and fill the required fields:
- Post Type Slug: intro (this naming is required)
- Plural Label: Intros (you can name as you like)
- Singular Label: Intro (you can name as you like)
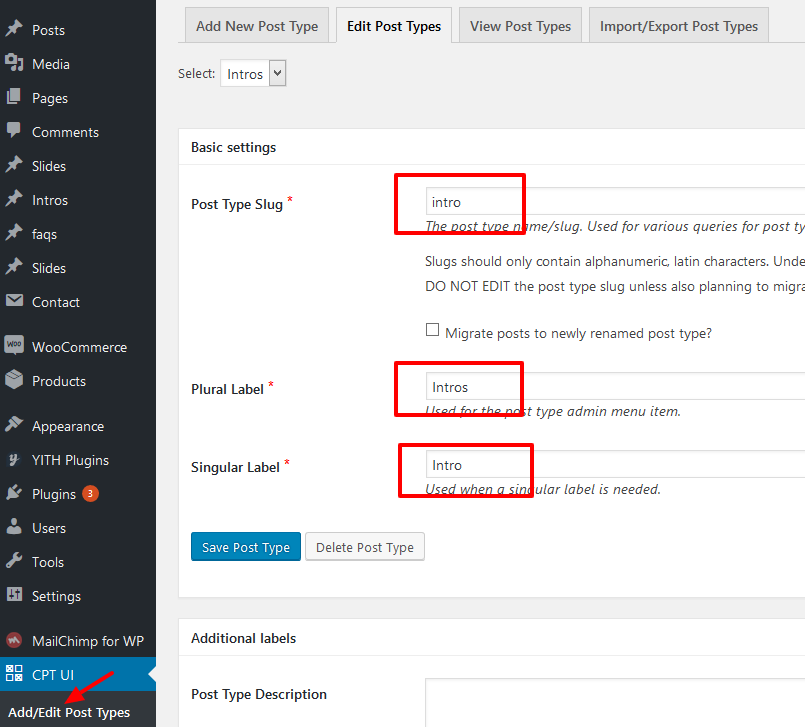
Set the post type supports:
- Title
- Editor
- Featured Image
Press Save Post Type.
To make intro, go to Intros→Add New and fill the excerpt (if needed, will be shown only with centered caption), image, and caption position.
You can choose different intros for posts, pages, products, post and product categories.
Testimonials | Top ↑
The same way add the Testimonial post type (we named our Testimonial post type "testimonial", but you can choose any other name).
- Post Type Slug → testimonial
- Plural Label → Testimonials
- Singular Label → Testimonial
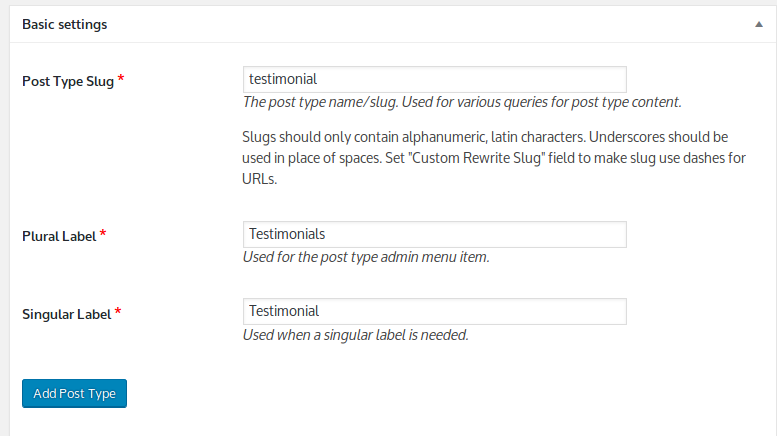
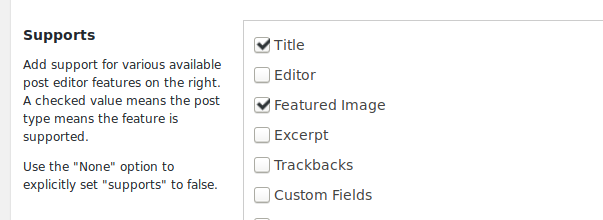
Testimonial Supports:
- Title
- Excerpt
- Featured Image
Services | Top ↑
The same way add the Testimonial post type (we named our Service post type "service", but you can choose any other name).
- Post Type Slug → service
- Plural Label → Services
- Singular Label → Service
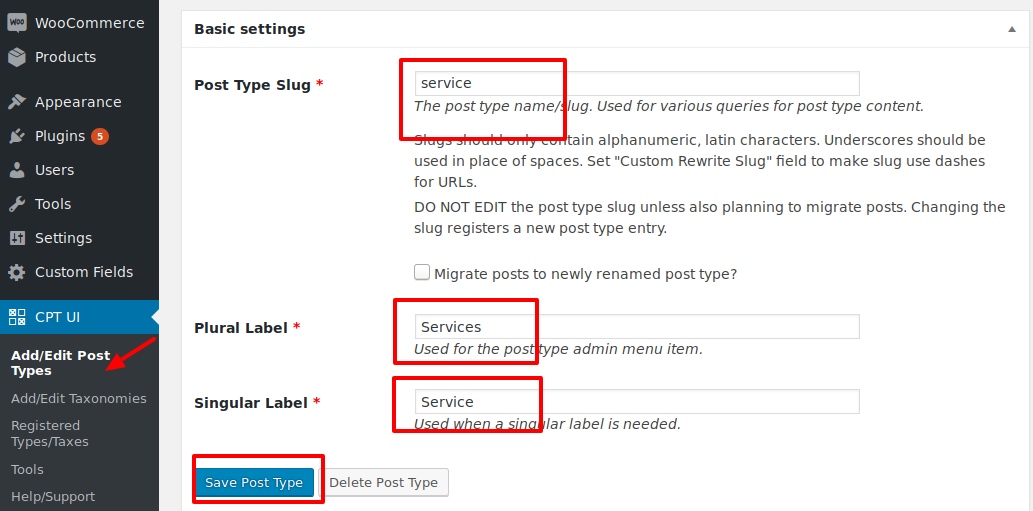
Testimonial Supports:
- Title
- Excerpt
- Featured Image

Set Has Archive to true, if you want to use post type archive page as Services page.

The service page will apear by url: your.domain/post_type_slug
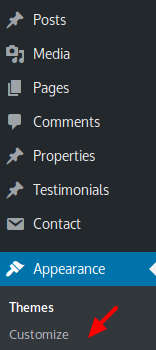
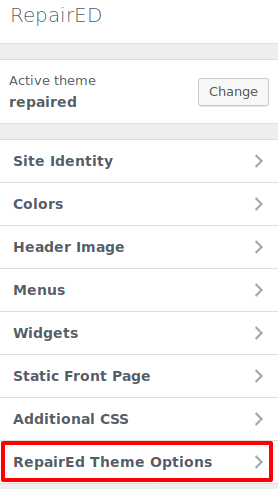
Theme Options | Top ↑
To set your site options, go to Appearance → Customize.
Site Logo & Icon | Top ↑
To change your header logo and favicon — go to the Site Identity section.
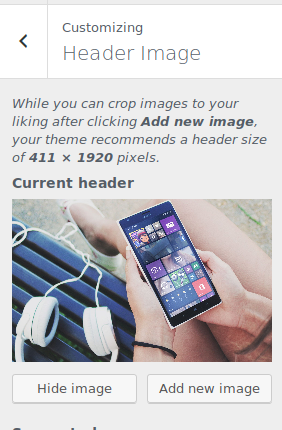
Header Image (default Intro) | Top ↑
To change basic header image — go to the Header Image section.
To set other options go to the RepairEd Theme Options section.
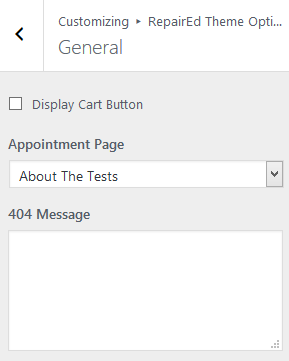
General | Top ↑
Chose if you want to show cart button in the bottom of site, chose page to show as Appointment template and fill the 404 Page text.
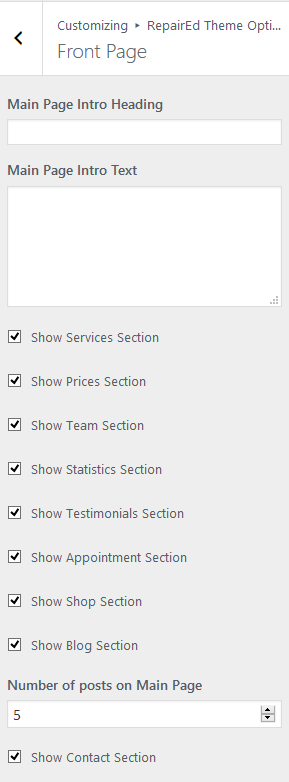
Front Page | Top ↑
Chose sections you want to show on the page you have set as Front Page. Add Intro image Title and Text.
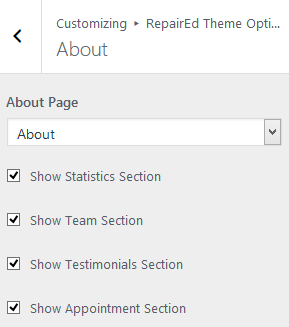
About | Top ↑
Chose page you want to show as About page ("About" by default) and sections you want to show on this page.
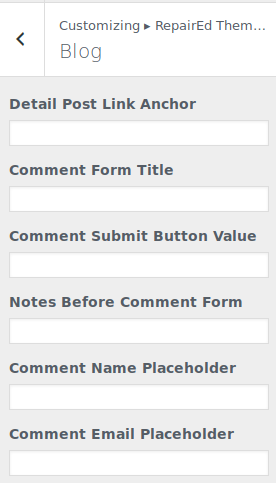
Blog | Top ↑
You can set some blog inscriptions here.
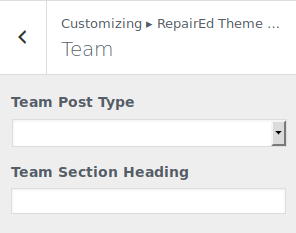
Team | Top ↑
Set post type and title for team section.
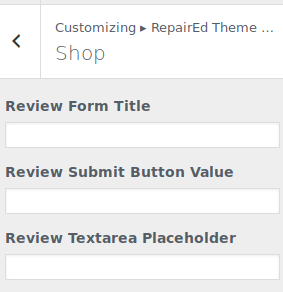
Shop | Top ↑
You can set some shop inscriptions here.
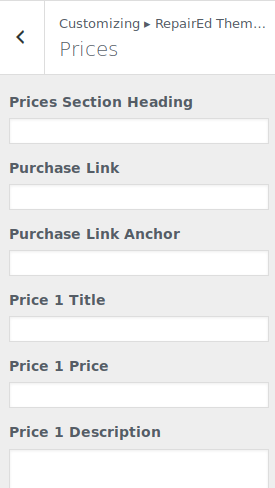
Prices | Top ↑
You can set inscriptions for prices section here.
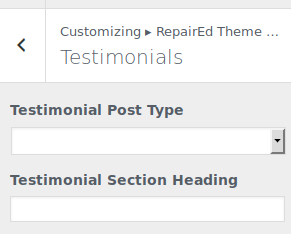
Testimonials | Top ↑
Set post type and title for testimonials section.
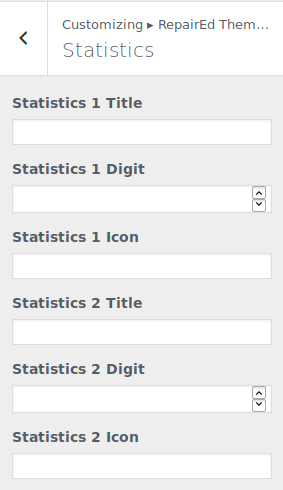
Statistics | Top ↑
You can set inscriptions for statistics section here.
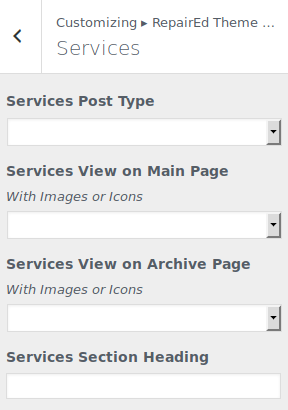
Services | Top ↑
Set post type, title and view for main page and archive for services section.
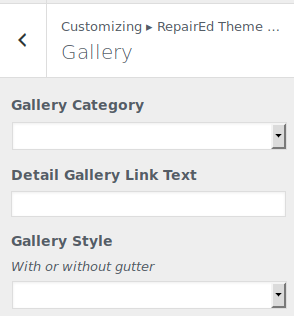
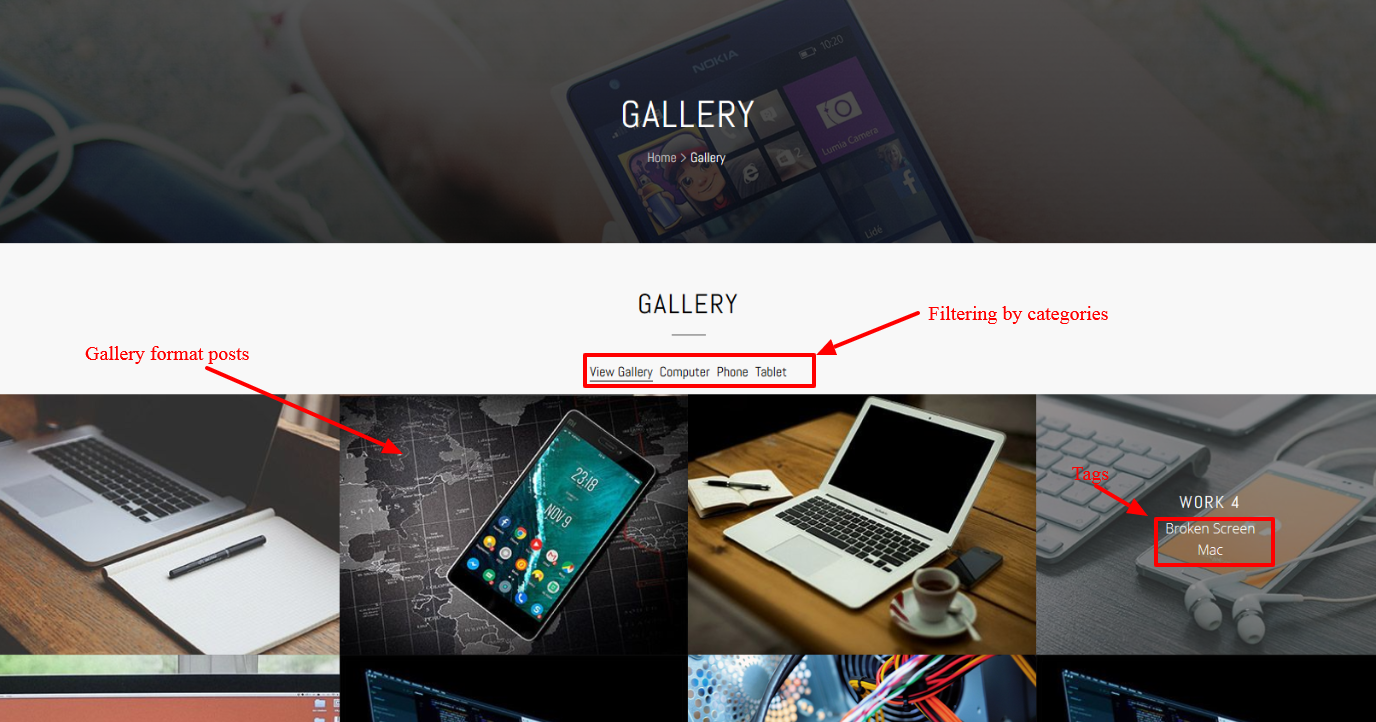
Gallery | Top ↑
Choose category for gallery to display ("Gallery" by default), text for link to full gallery and gallery style (with or without gutter).
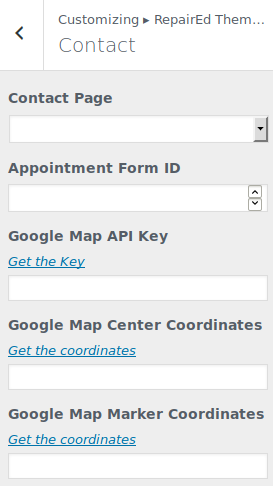
Contact | Top ↑
Choose the page for contact template to display ("Contact" by default). Set your Google Map API key, coordinates and name of your place (how to get coordinates). Fill the title and the ID of the Contact Form 7 form. Fill the Icon, Title and Description of 3 contact visual blocks.
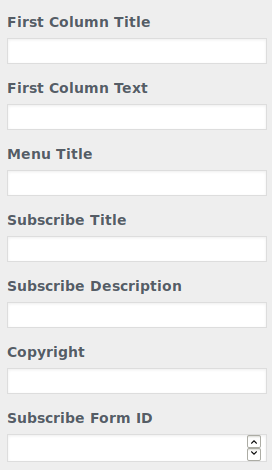
Footer | Top ↑
You can set inscriptions and subscribe form ID from MailChimp for WordPress Plugin here.
Custom Fields | Top ↑
For this setting you need Advanced Custom Fields plugin.
Team | Top ↑
If you need social links for your team persons info, you have to set custom fields.
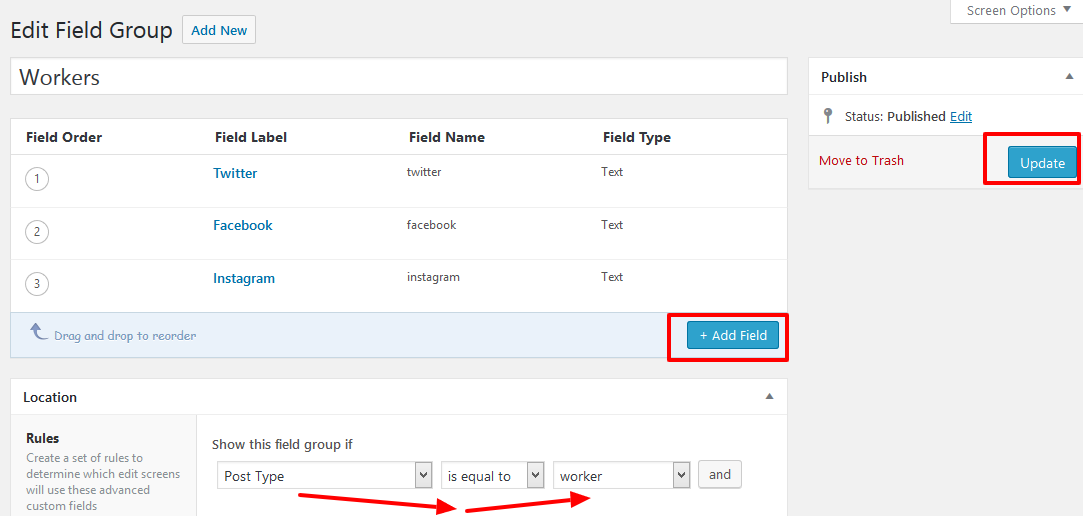
Go to Custom Fields and press Add New.
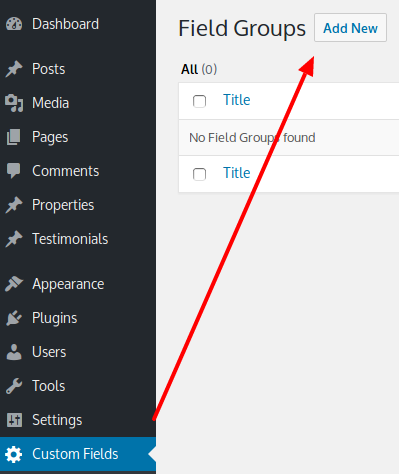
Name your field group as you prefere. Set the Post Type equal to "worker" (or other post type for team person you have chosen before).
Press Add Field any social links text fields fields you need.
When you have set all fields, press Publish.
Content Management | Top ↑
Front Page | Top ↑
You can manage the content of your Front Page in the Front Page Options. To add custom text on the Front Page fill the content of the page you have set as the Front Page.
Page About | Top ↑
You can manage the content of your About Page in the About Page Options.
Team | Top ↑
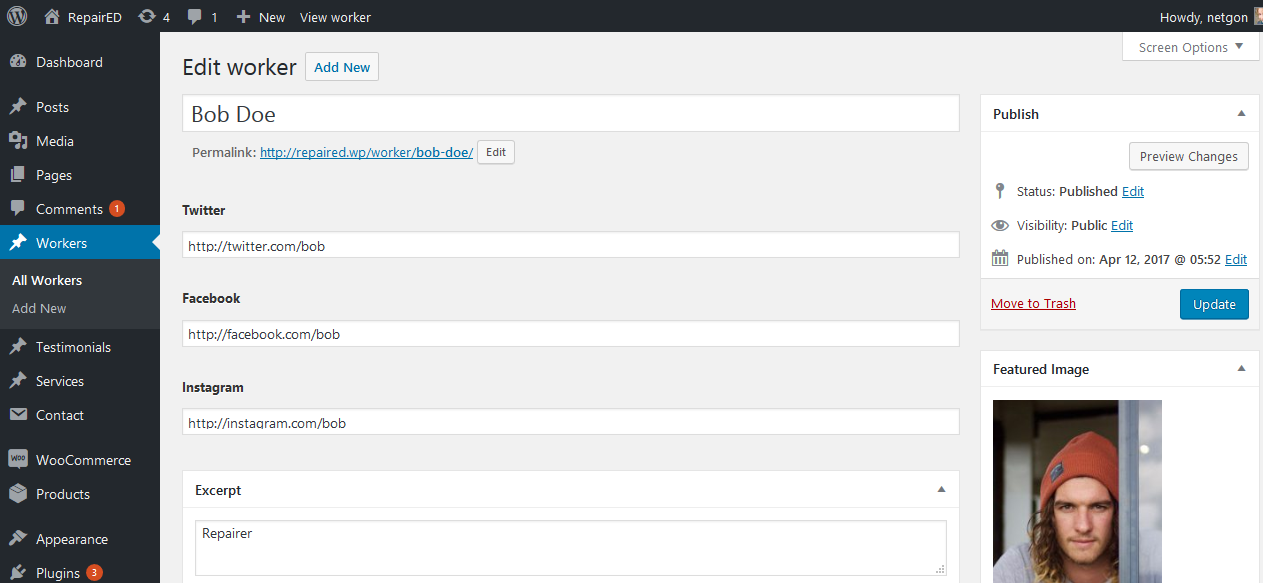
For managing team persons content, you have to set worker post type and post type custom fields (if social links needed) before.
If you have already done this, you will have custom post type in your dashboard menu. Press Add new, fill the name, position (the excerpt), photo and social links, if presents.
Testimonials | Top ↑
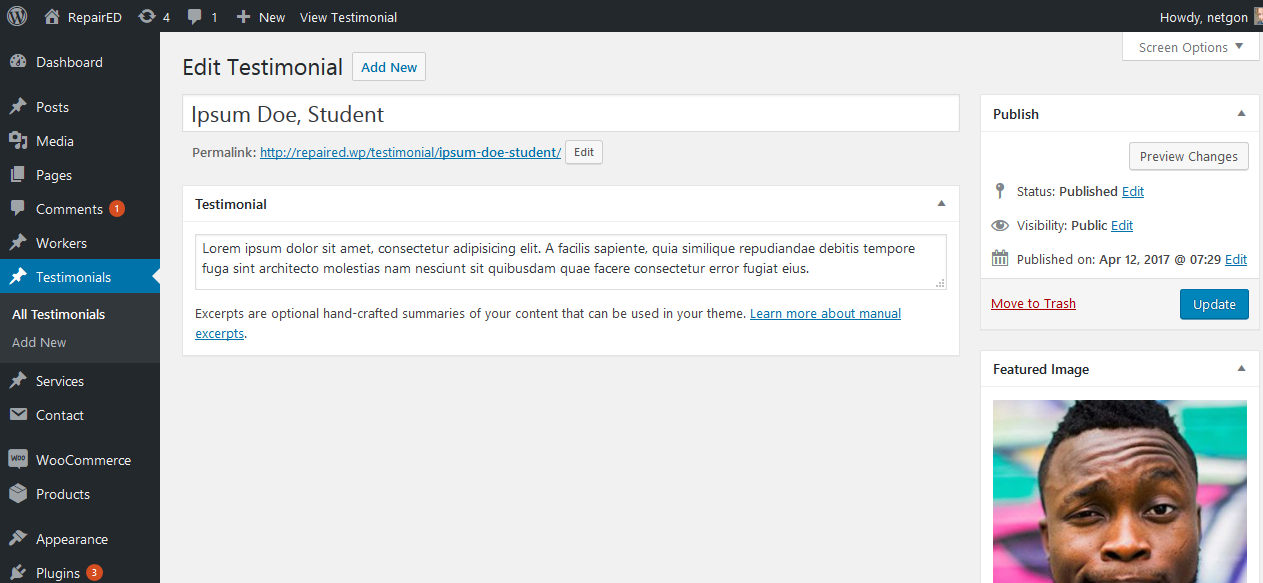
For managing testimonials content, you have to set testimonial post type before.
If you have already done this, you will have custom post type in your dashboard menu. Press Add new post, fill the name and position if needed (split them by ","), testimonial (the excerpt) and customer's photo (if presents).
Services | Top ↑
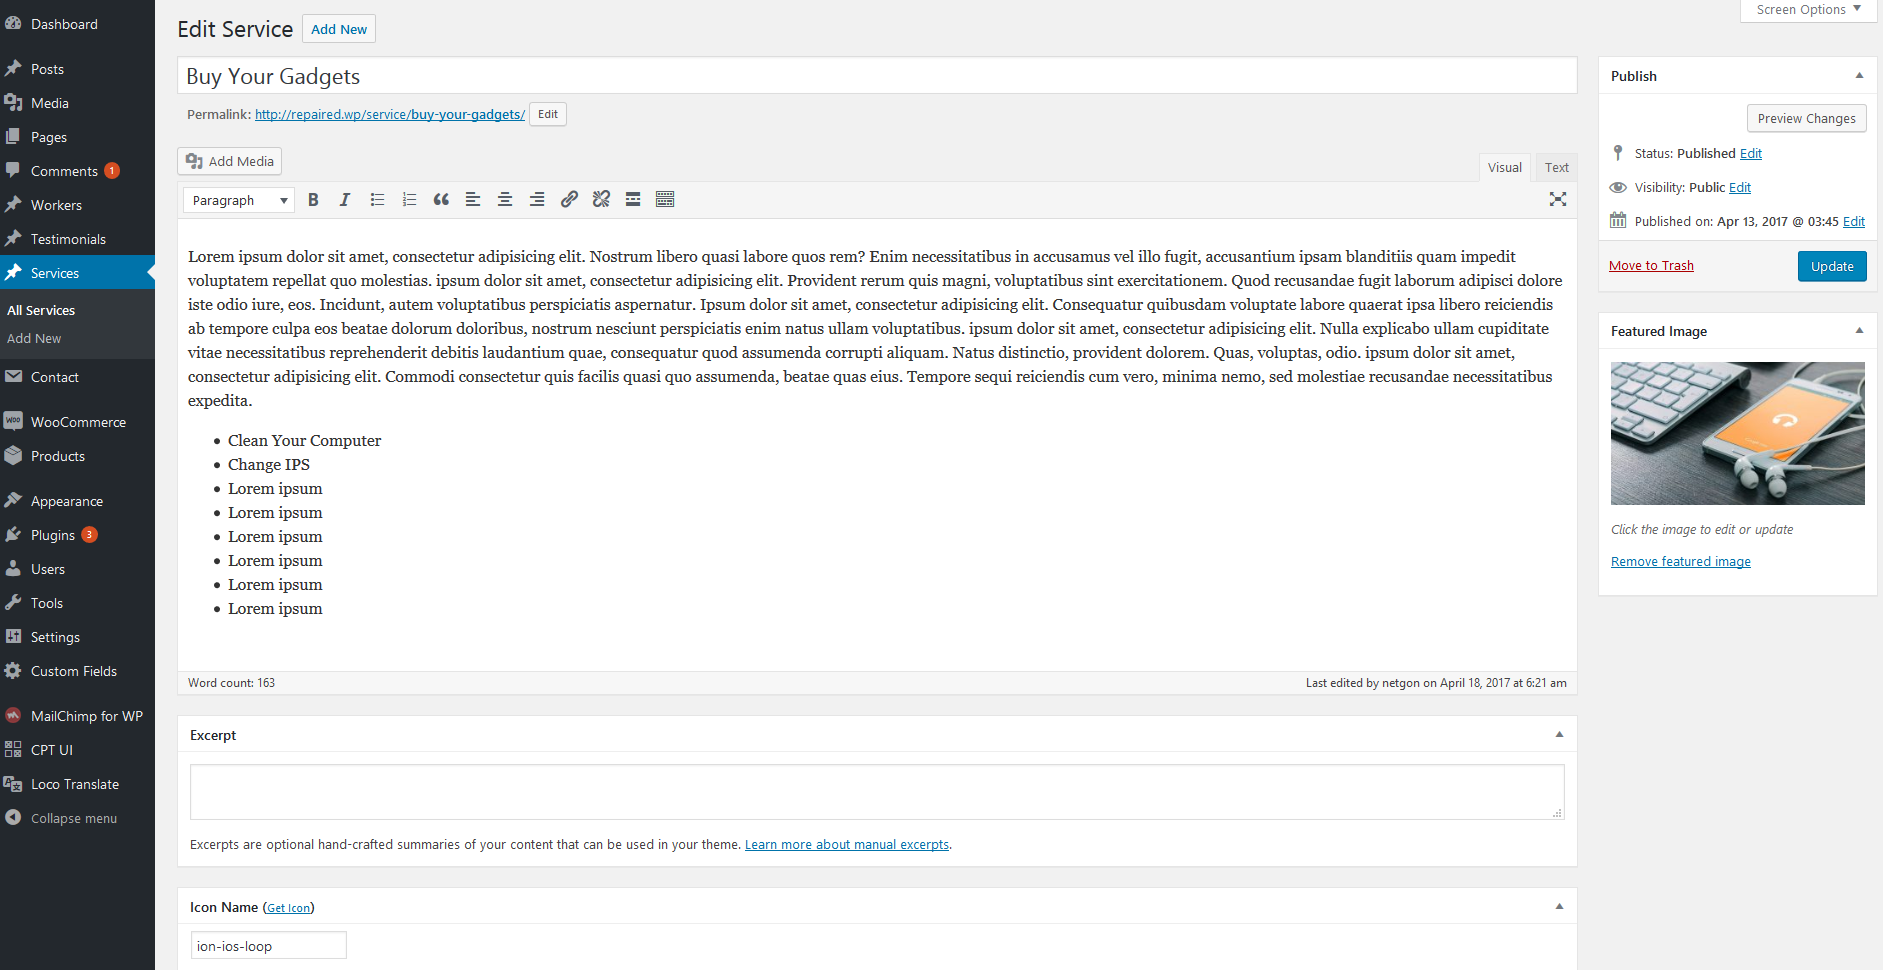
For managing testimonials content, you have to set service post type before.
If you have already done this, you will have custom post type in your dashboard menu. Press Add new post, fill the title, content, illustration and icon for icon view (you can get the icon here). You can set the view of services for front page and services page in Services Options.
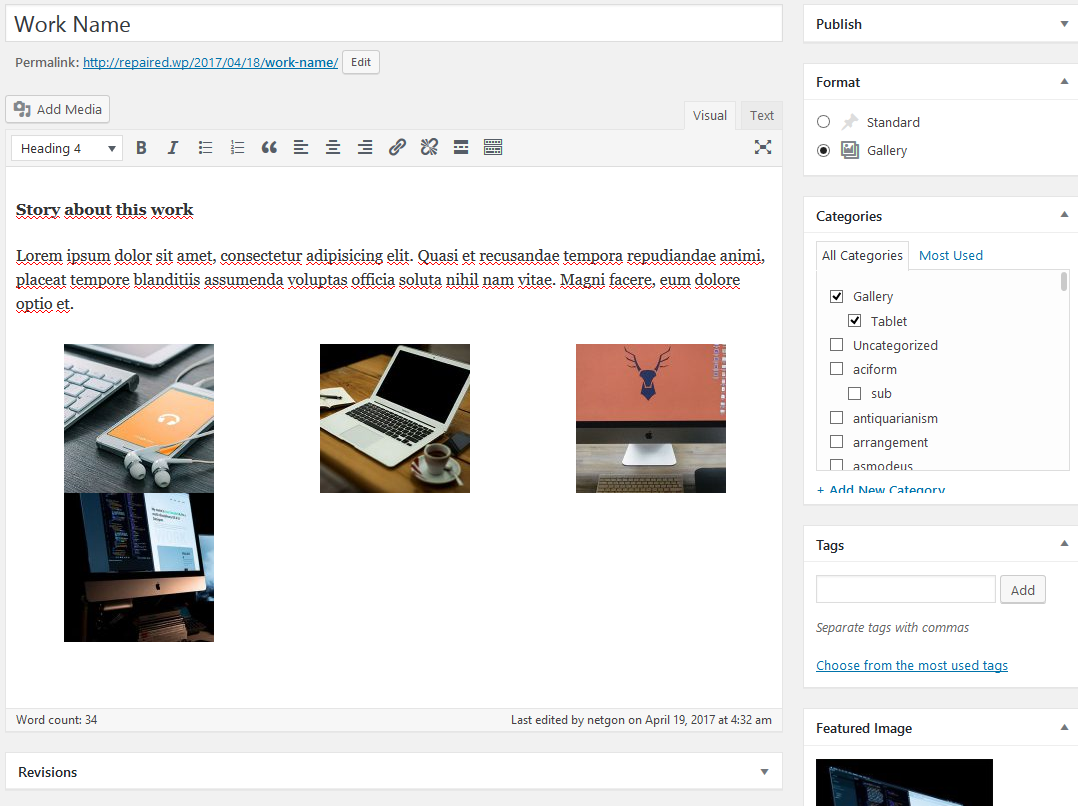
Gallery | Top ↑
Gallery posts are posts with special Gallery Format. In our Theme this posts are shown in the Gallery category you can set in the Gallery Options ("Gallery" by default).
To add the gallery post, press "Add New" and fill the title, content with standart WP gallery, image and tags (if needed). Choose the Gallery or other chosen as gallery category. You can also set subcategories for filtering on page.
Contact Page | Top ↑
You can set the map API key and coordinates, contact information and form ID in the Theme Options.
To create the form, go to the Contact menu (you have to install the Contact Form 7 plugin before) and add the form according to this template:
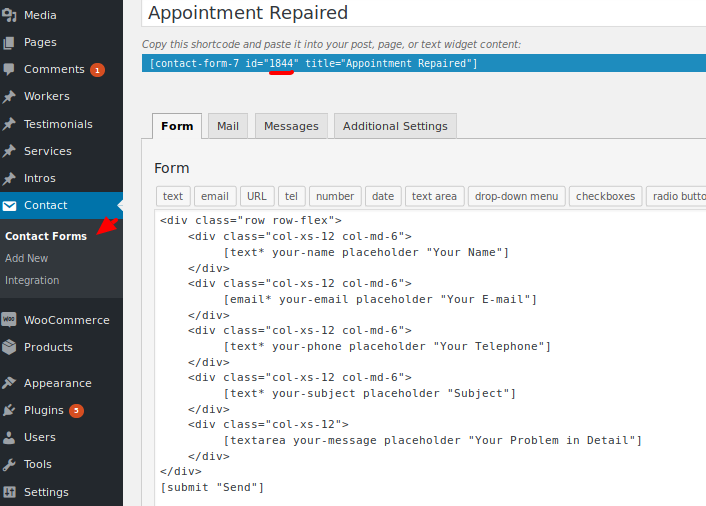
The code of the form:
<div class="row row-flex">
<div class="col-xs-12 col-md-6">
[text* your-name placeholder "Your Name"]
</div>
<div class="col-xs-12 col-md-6">
[email* your-email placeholder "Your E-mail"]
</div>
<div class="col-xs-12 col-md-6">
[text* your-phone placeholder "Your Telephone"]
</div>
<div class="col-xs-12 col-md-6">
[text* your-subject placeholder "Subject"]
</div>
<div class="col-xs-12">
[textarea your-message placeholder "Your Problem in Detail"]
</div>
</div>
[submit "Send"]
Than copy the form ID and paste into the special field in the Contact Options.
Sources and Credits | Top ↑
WordPress
- Wordpress plugin for creating contact forms - Contact Form 7
- Wordpress plugin for managing custom post types - Custom Post Type UI
- Wordpress plugin for creating subscribe forms - MailChimp for WordPress
- The most customizable eCommerce platform - WooCommerce for WordPress
JS
- jQuery
- jQuery Migrate
- jQuery Validation
- Counter Up
- Isotope
- Masonry
- Waypoints
- FormChimp
- Swiper
- Bootstrap Slider
- Bootsrap Select
- jQuery ease Scroll
- fakeLodaer.js
- Stellar JS
CSS
NetGon — Web development company