“Cascadia” WordPress Theme Documentation by “Netgon” v1.0
“Cascadia Premium WordPress Theme”
Created: 12/01/2017
By: Netgon
Email: netgon@netgon.ru
Thank you for using Cascadia theme. If you have any questions that are beyond the scope of this documentation, please feel free to email us. Thanks!
Table of Contents
Install Theme — top
System requirments:
- WordPress 4.7+
- php 5.6 and higher
To install this theme you must have a working version of WordPress already installed. Make sure you have clean WordPress setup. This installation guide will help you to install the WordPress.
The theme files can be uploaded in two ways: Through FTP or through WordPress dashboard.
- Using your FTP program
Upload the non-zipped theme folder into the /wp-content/themes/ folder on your server. - Upload Through WordPress
Navigate to "Appearance" > "Add New Themes" > "Upload Theme" > "Choose file" (choose Cascadia-Agency_Portfolio_WordPress_Theme.zip) > Install now - Once the theme is uploaded, you need to press "activate". Or navigate to "Appearance" > "Themes" and activate the theme.
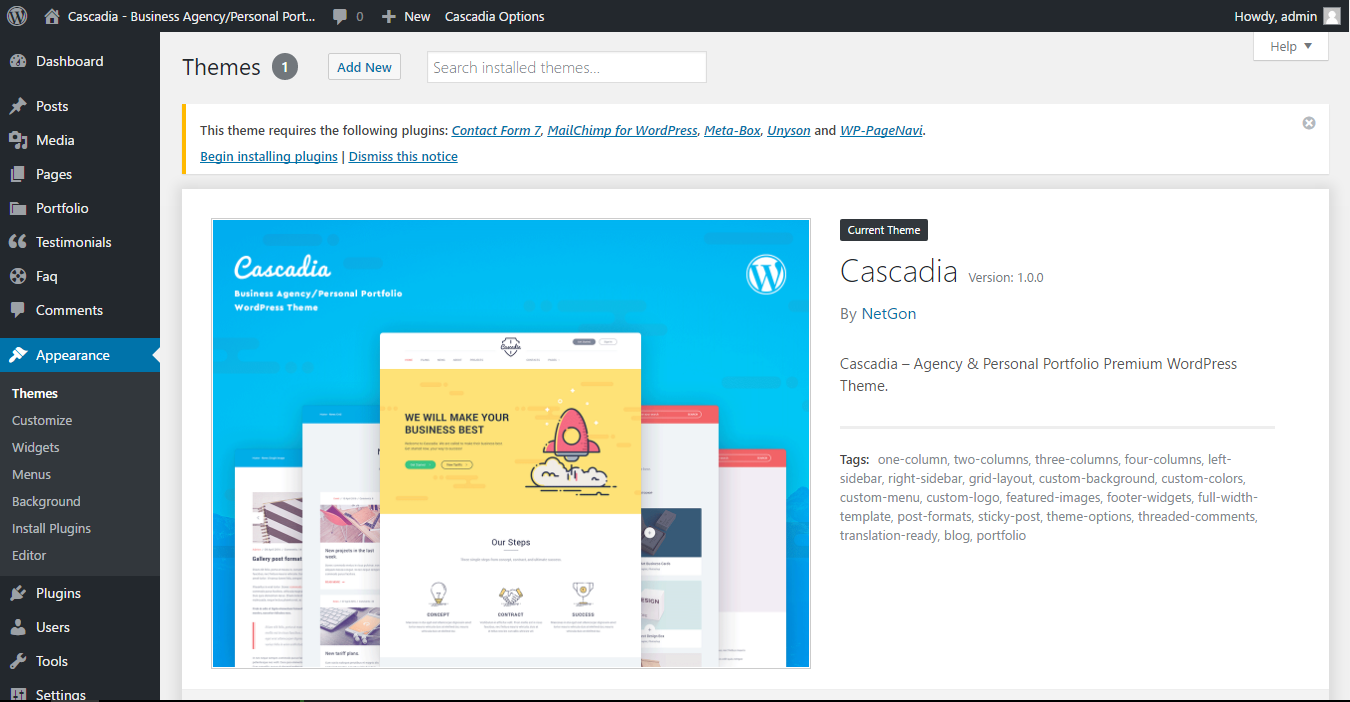
Required plugins installation — top
In order to take more advantage the theme asks for installing some plugins, we recommend to install all of them. So you can create every element and parts of the theme.
In this sense, once you will activate the theme you will see a notice in the top part where the plugin assistant asks you for installing the included plugins. To proceed click "Begin installing plugins":
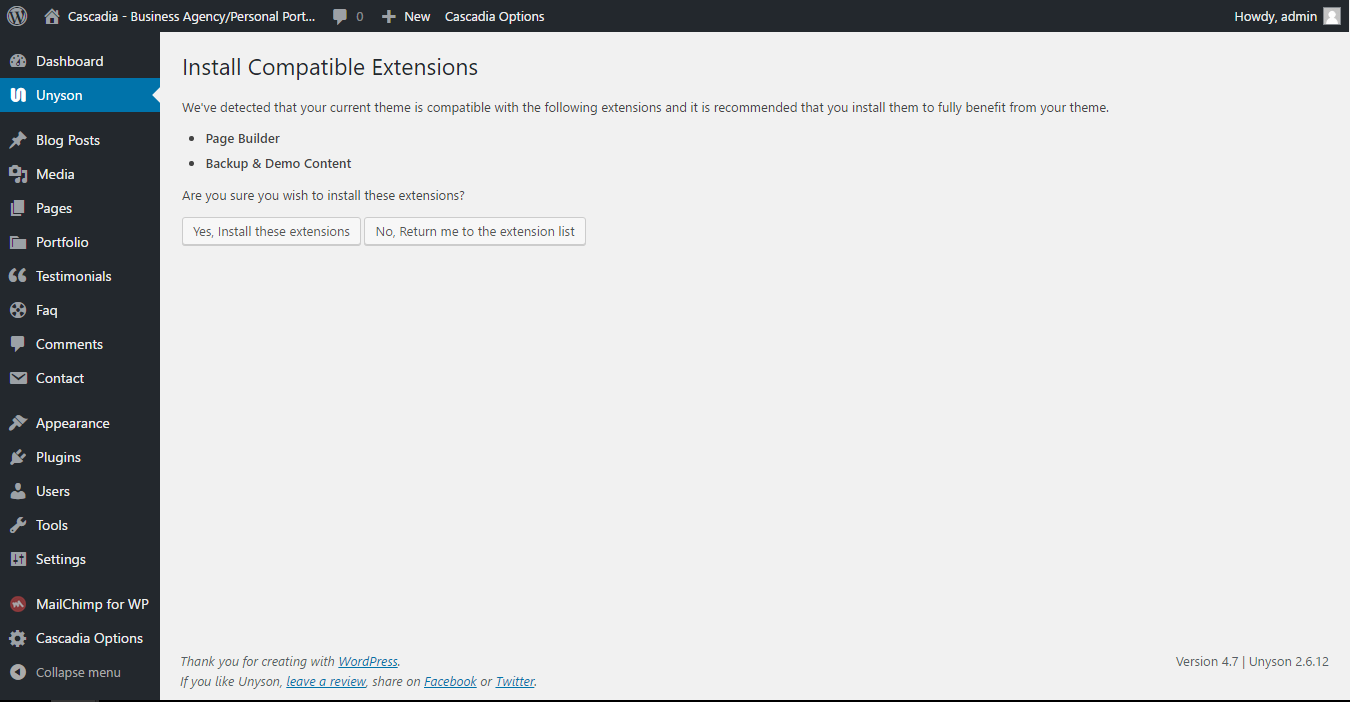
After installing required plugins, you need to install compatible Unyson extensions
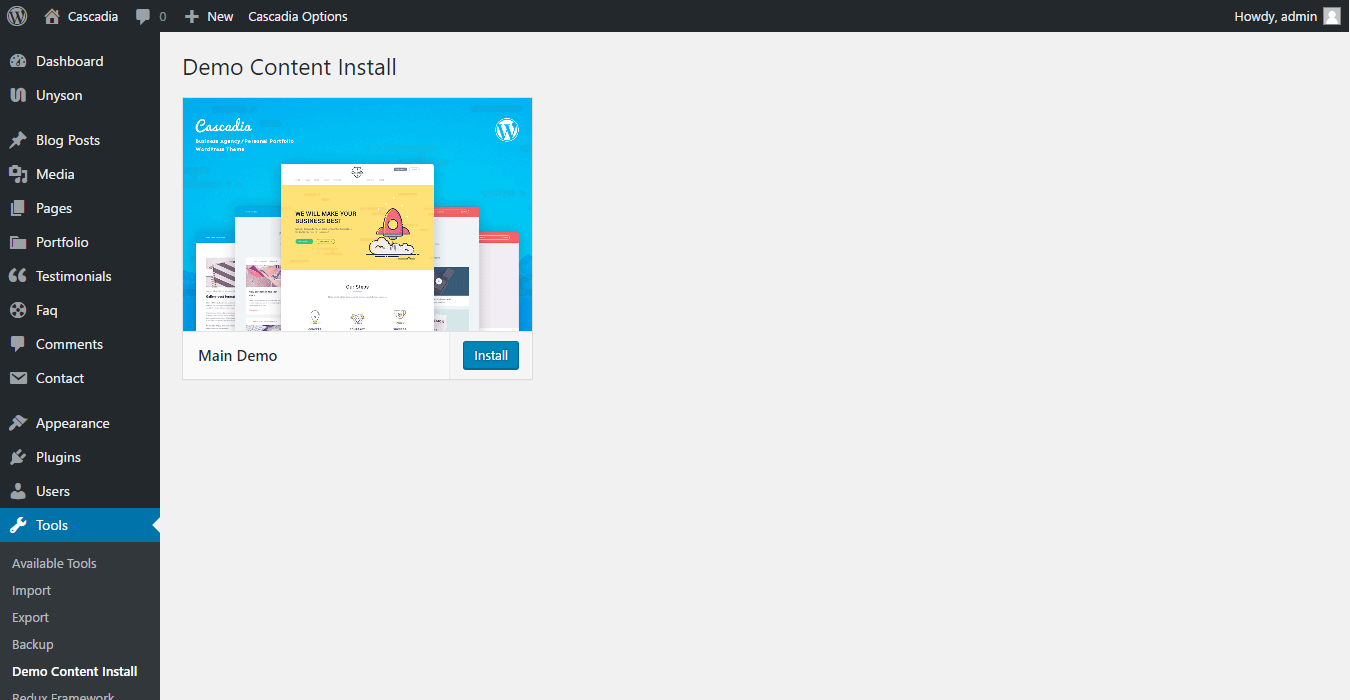
Import Demo — top
To install theme demo visit "Tools" > "Demo Content Install" in the WordPress dashboard > press on Main demo "Install".
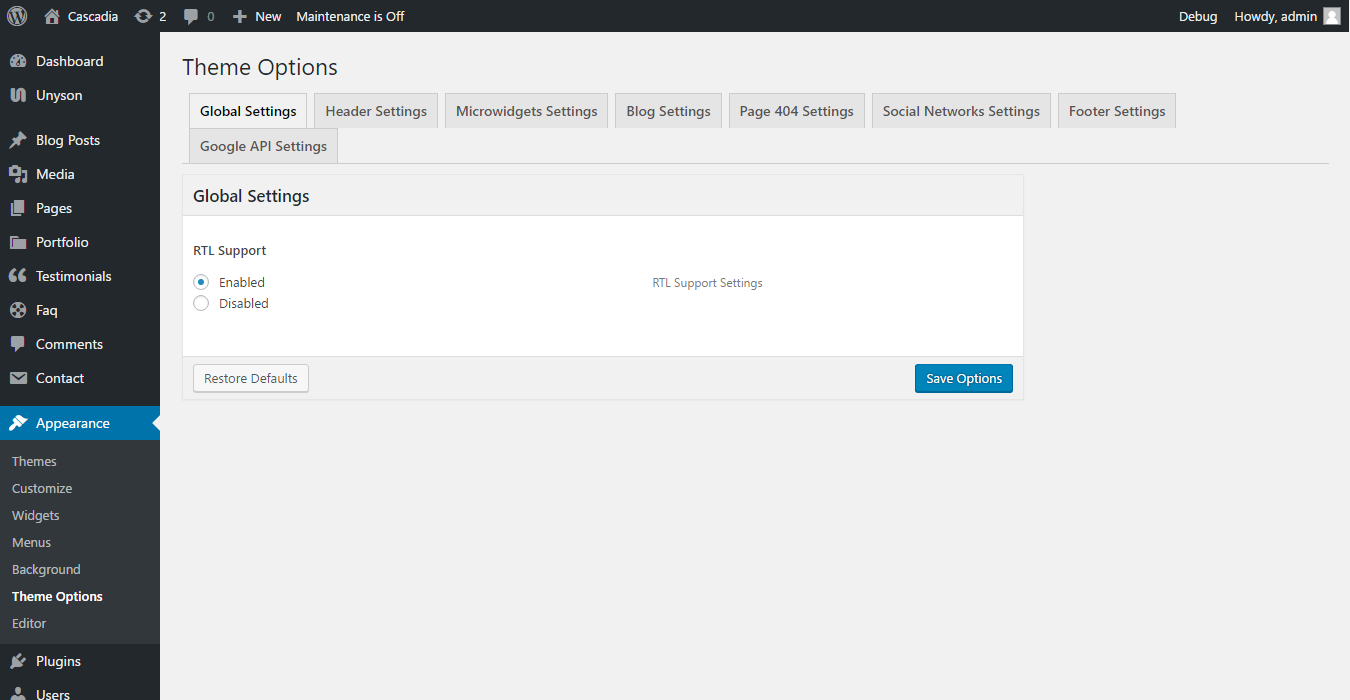
Theme options — top
To customize your web-site, go to "Cascadia options" in the WordPress dashboard:
Global settings:
On the "Global settings" tab you can enable RTL support
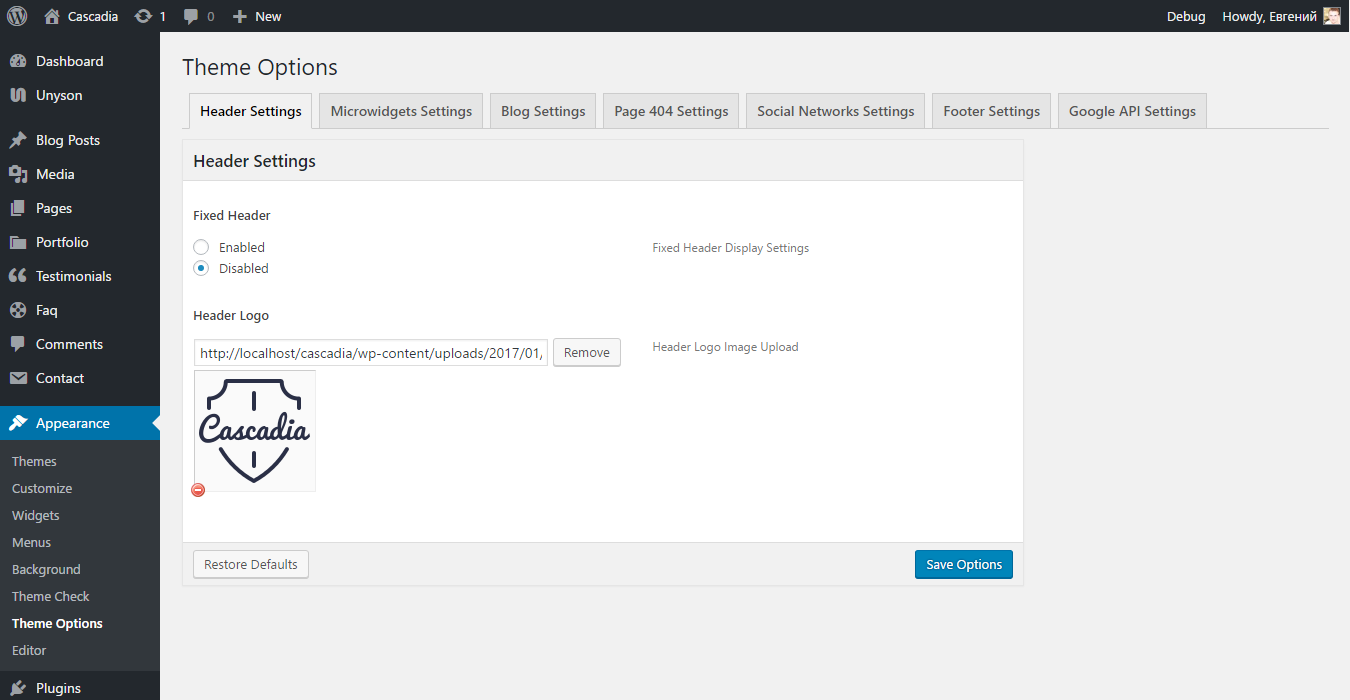
Header settings:
On the "Header settings" tab you can change the apearance of the site header
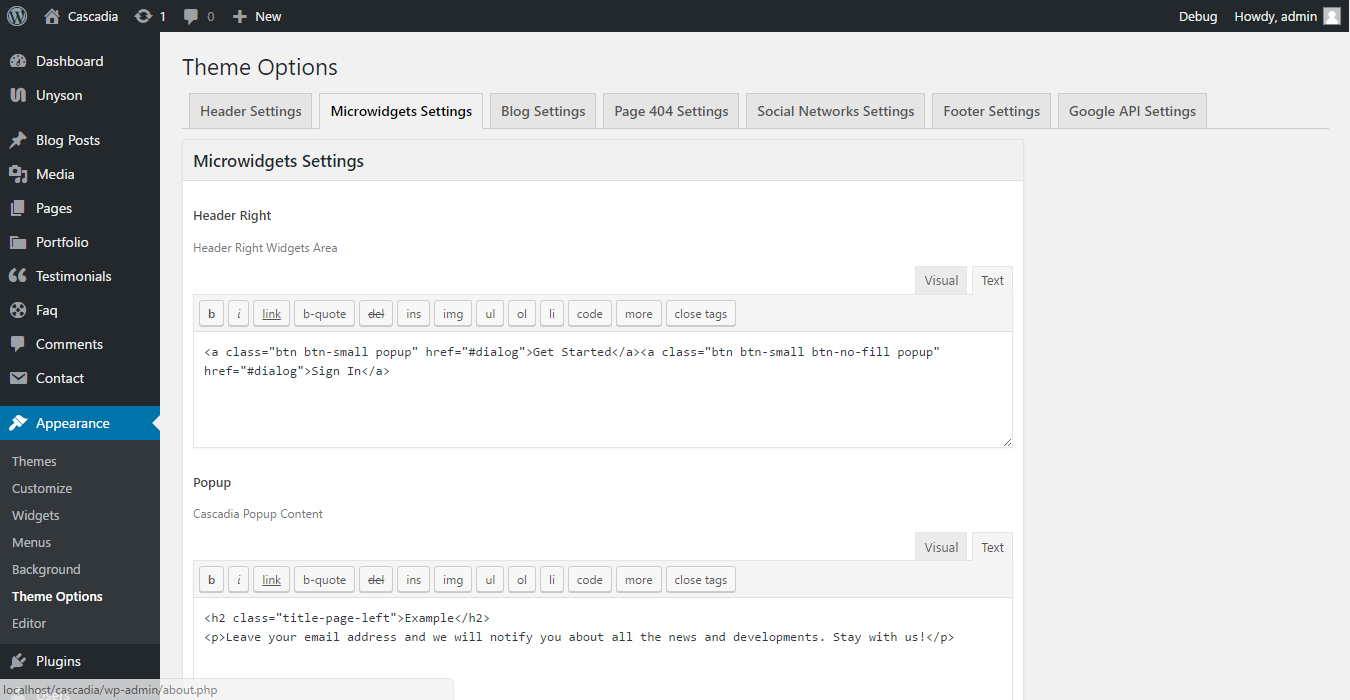
Microwidgets
On the "Microwidgets" tab you can add microwidgets content:
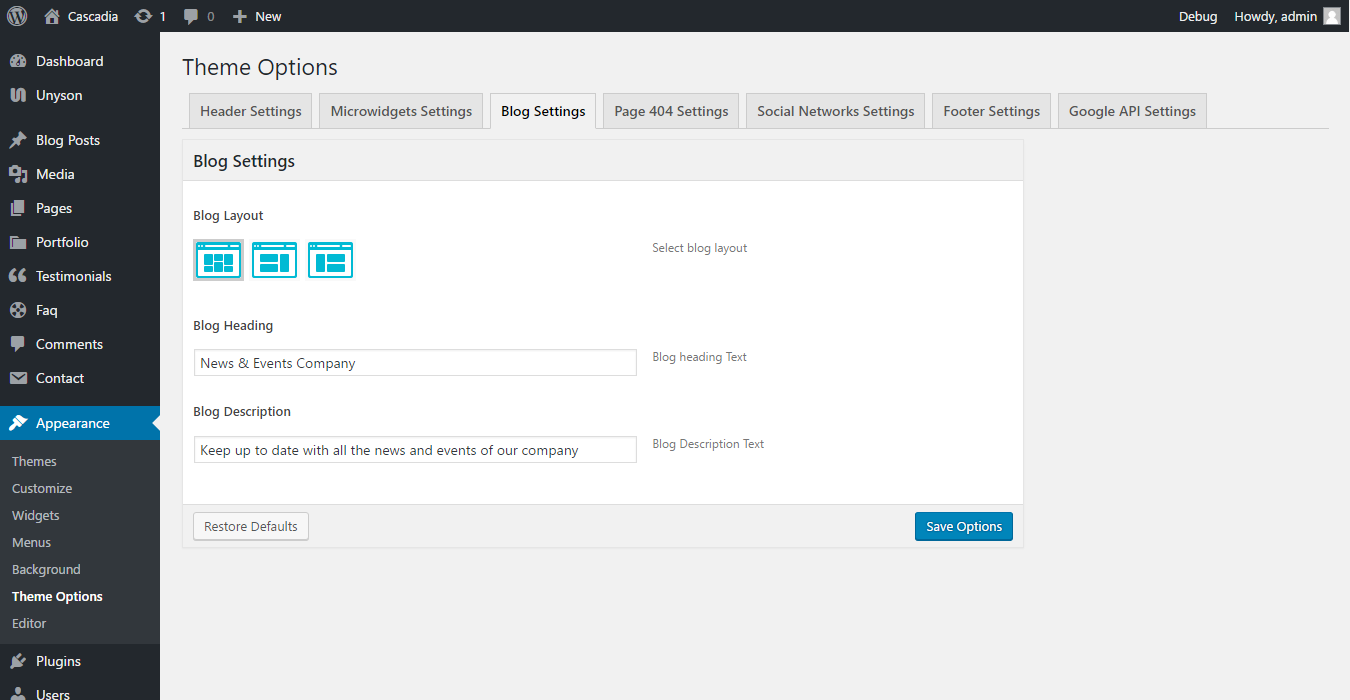
Blog settings
On the "Blog" tab you can change blog display settings.
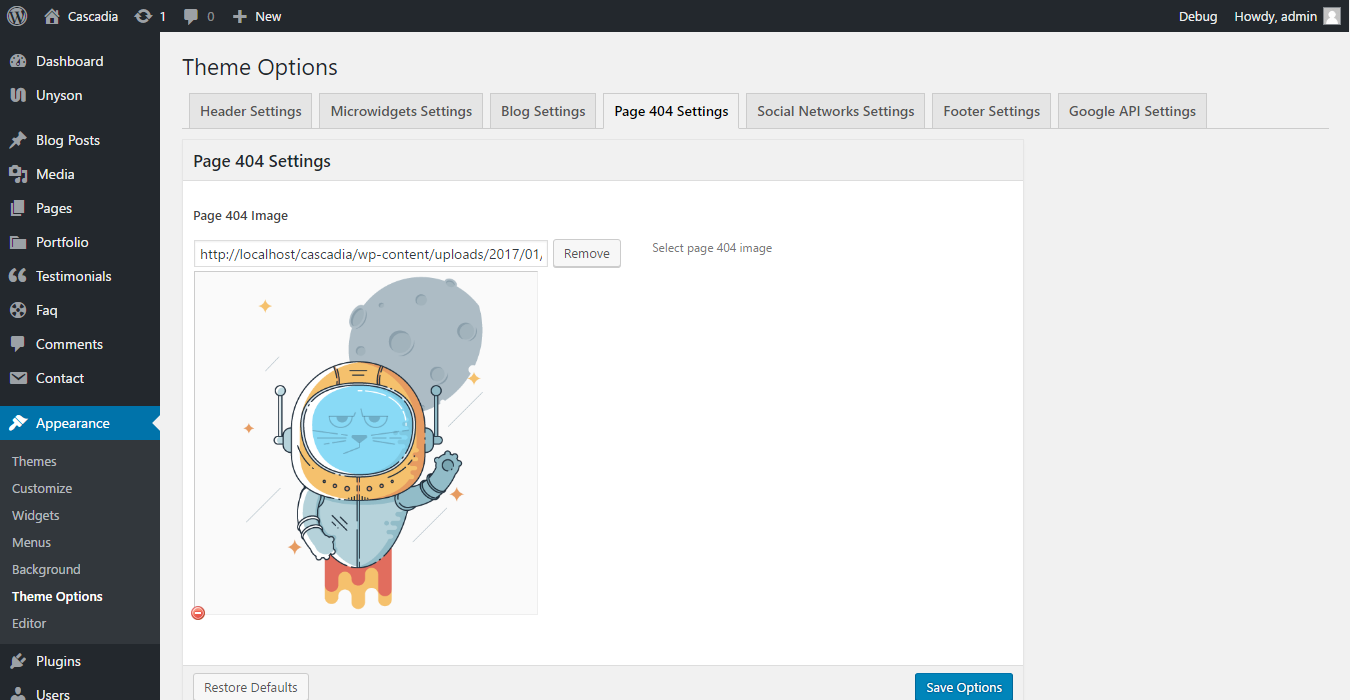
Error page 404 settings
On the "Page 404" tab set-up custom image for error 404 page.
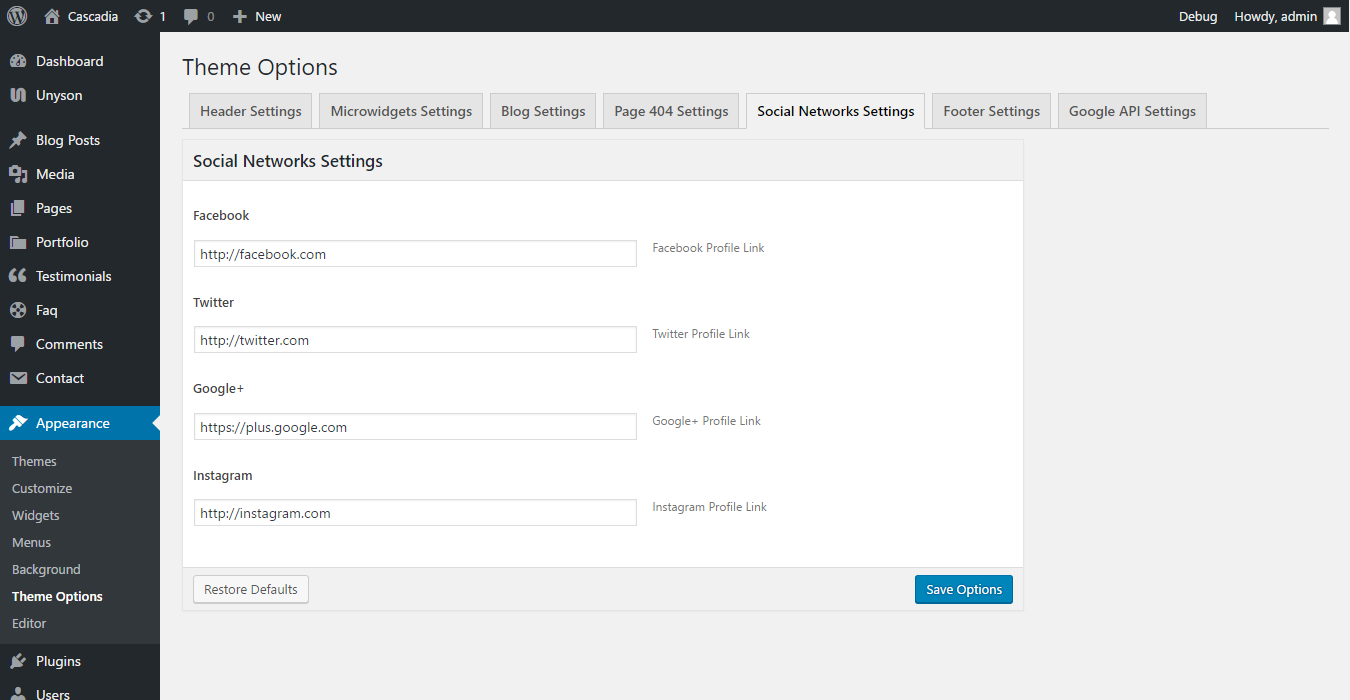
Social Network Settings
On the "Social" tab links for your social profiles
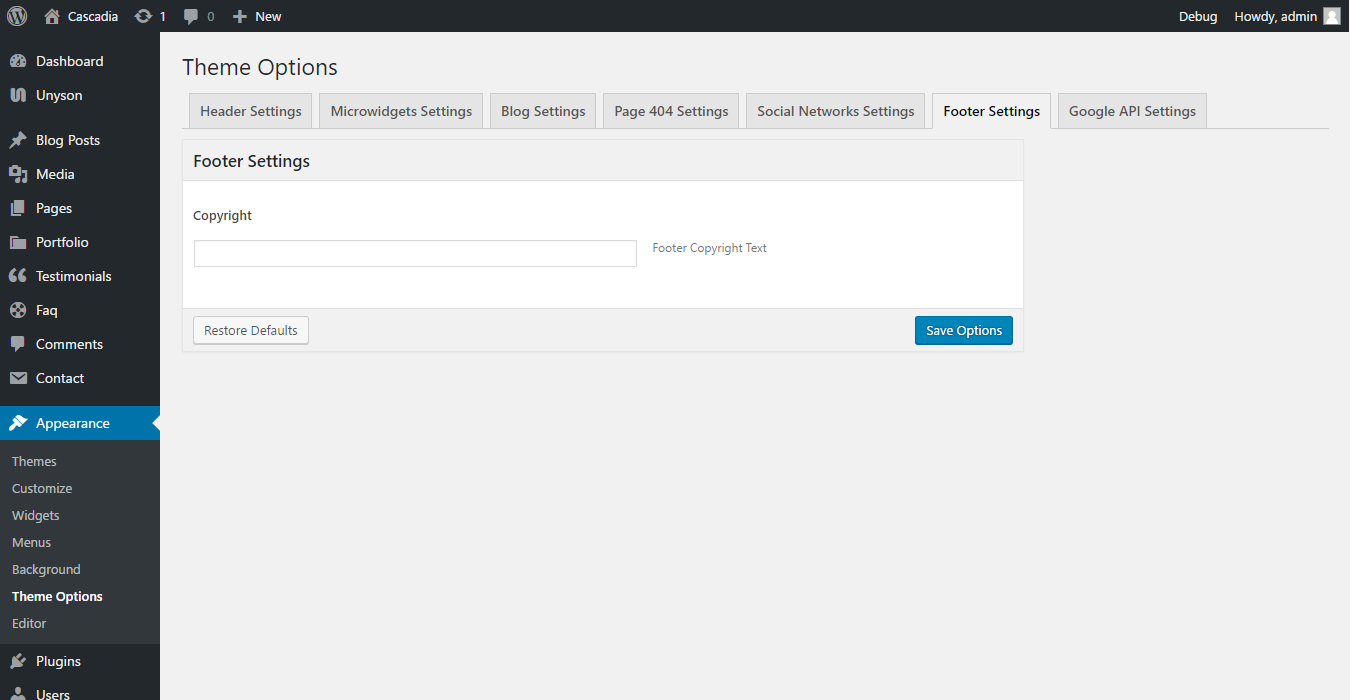
Footer
On the "Footer" tab you can set-up site footer
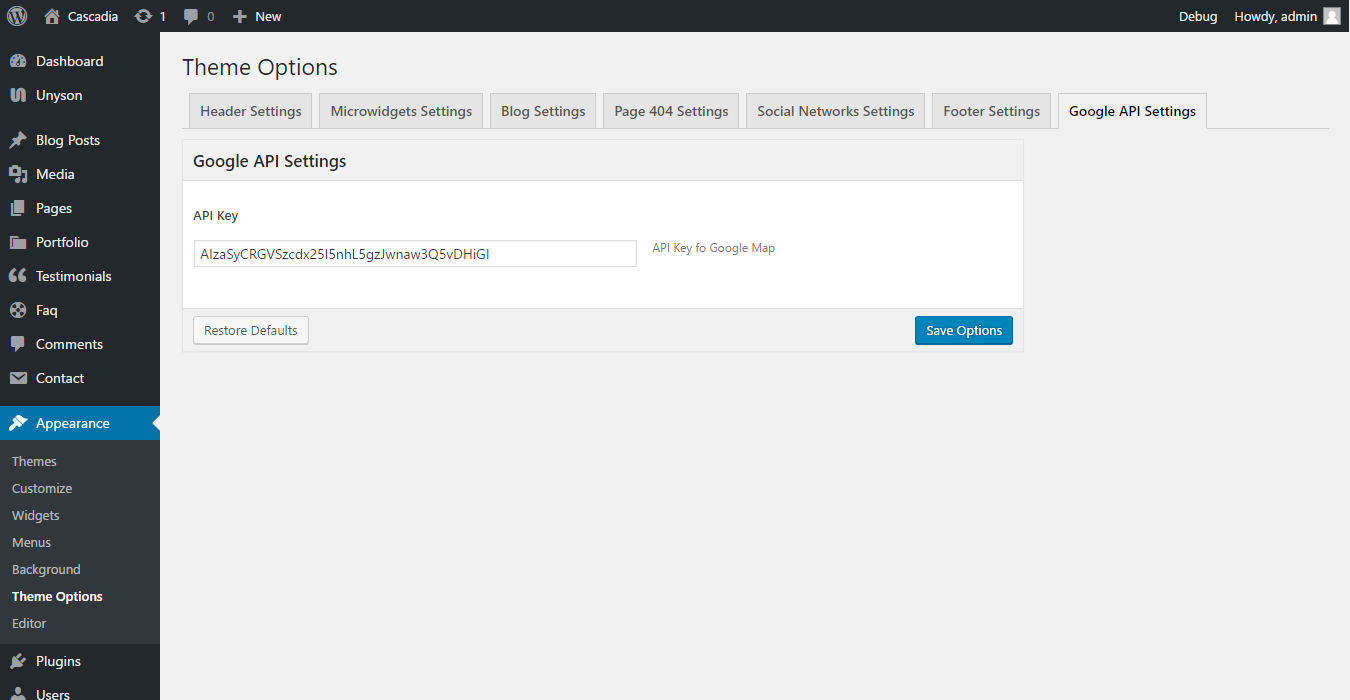
Google Api
On the "Google Maps API" tab you set-up Google api key.
Setting Up Automatic Theme Updates — top
To setup automatic theme updates follow this instruction